


The Complete Process of Chain-Link Fence Installation Explained
Chain-link fences remain a trusted option for both residential and commercial properties. They are valued for durability, affordability, and functionality. With the right steps, the installation process can be straightforward and effective. Let’s explore the complete process of chain-link fence installation, explained step by step.
Tools and Materials for Preparation
The first step is making sure you have everything needed to begin. An online fencing supplier can provide posts, rails, mesh, ties, and accessories suited to your project. You will also need basic tools such as a posthole digger, shovel, level, and wrench. Having materials and tools organized makes the job smoother from the start.
It is also helpful to review local codes before beginning the project. Some areas may have height restrictions or property line requirements. Checking regulations early saves time and avoids potential problems later. Once everything is in place, the installation can proceed with confidence.
Mark and Dig Post Holes
Accurate measurements ensure the fence lines up properly. Begin by marking the boundary with stakes and string to outline the placement. Post spacing is usually six to ten feet apart, depending on the height of the fence. Clear, straight lines provide a guide for hole placement.
When digging, ensure the holes are deep enough to support the posts firmly. A common rule is one-third of the post length should be below ground. Add gravel at the bottom for better drainage before setting the posts. Solid foundations make the rest of the process easier and more reliable.
Set Posts in Concrete
Once the holes are prepared, place each post inside and fill with concrete. The concrete should be level with the ground and sloped slightly outward for drainage. Use a level to keep posts plumb as the concrete sets. Strong, secure posts are essential for overall fence stability.
Allow the concrete to cure properly before attaching any parts. This step often requires at least a day, depending on weather conditions. Patience here prevents problems later in the project. Once the posts are fully set, the next stage can begin.
Attach Rails and Fittings
With posts secure, the next step is connecting the top rails and fittings. These pieces form the structure that supports the chain-link fabric. Rails usually slide into end caps or loops attached to the posts. Tight connections ensure the framework remains stable.
This stage is also when tension bands, gate hardware, and brace bands are attached. Placing them in the right position avoids adjustments later. Each piece contributes to the overall durability of the fence. A careful approach here sets the stage for the mesh attachment.
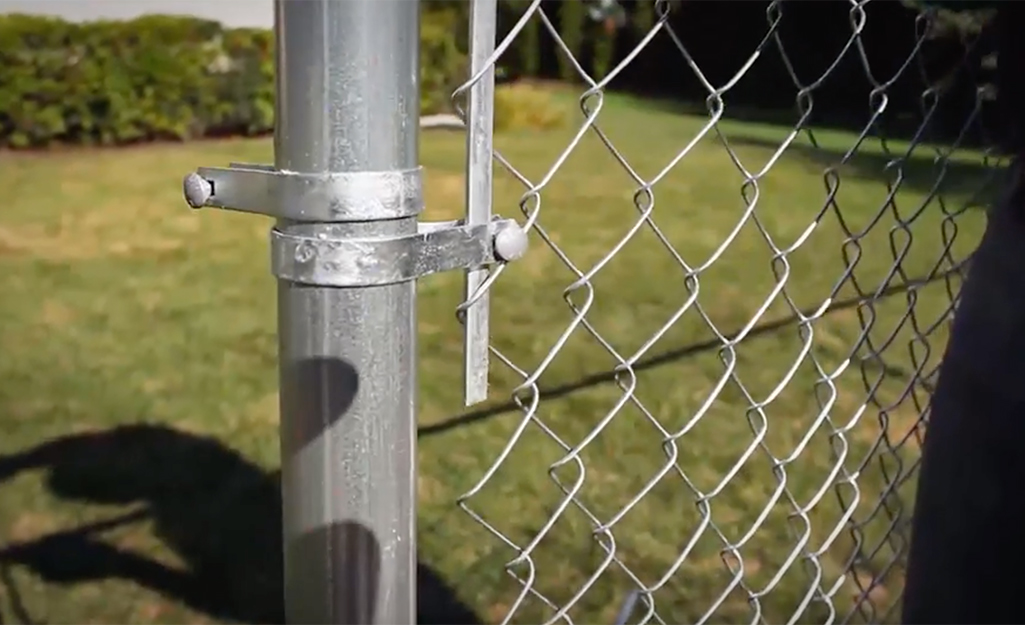
Stretch and Fasten the Chain-link Fabric
The final main step is to attach the mesh to the frame. Start by unrolling the fabric along the length of the fence. Use a tension bar to pull the mesh tight, then secure it to the posts with ties or bands. Proper tension prevents sag and helps the fence remain neat.
Here are a few quick tips for fastening the mesh effectively:
- Stretch the mesh from one end post to the other for an even fit
- Secure ties every 12 to 18 inches along the top rail
- Clip the mesh firmly at each line post for stability
- Trim excess mesh for a clean finish
By fastening carefully, the fence becomes both strong and visually balanced. Once the mesh is secured, gates can be installed, and the project is complete.
Installing a chain-link fence involves preparation, accurate measurement, solid posts, and careful attachment of parts. An online fencing supplier can provide the right materials to make the process efficient and effective. By following each step with patience, the result is a fence that delivers both security and long-lasting value. Chain-link installation remains a practical choice for properties that need durability and function.